
Back to all posts
Cynthia Cannizzaro
December 19, 2024
How to Make a Fabulous Holiday Bow
Making a fabulous bow involves choosing the right material, achieving a balanced shape, and ensuring it suits your intended purpose. Here’s a step-by-step guide to creating a stunning bow:
Materials You’ll Need:
- Ribbon: Choose a high-quality ribbon, such as satin, grosgrain, velvet, or wired ribbon. Wired ribbon holds its shape well.
- Scissors
- Floral wire or string
- Hot glue
Steps to Make a Fabulous Bow:
1. Decide the Size and Style
- Determine the size of your bow based on its purpose (e.g., gift wrapping, decoration, hair accessory).
- For an extra flair, choose wide ribbon for large bows and thinner ribbon for delicate ones.
2. Make the Loops
- Cut a length of ribbon. For a large bow, start with at least 3 feet of ribbon.
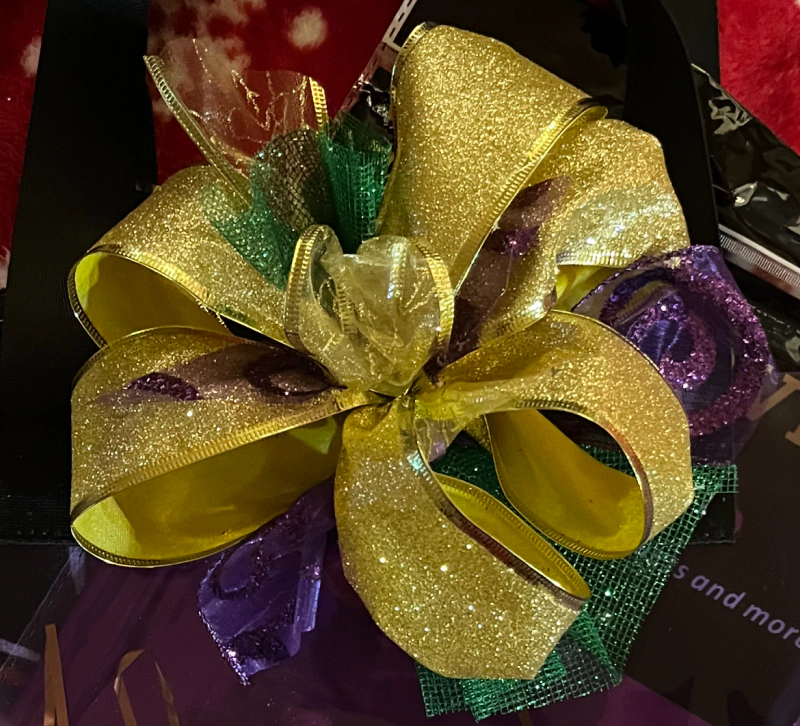
- Create loops by folding the ribbon back and forth, ensuring the loops are symmetrical. Typically, 4-6 loops on each side create a full bow. I find if I put 2 pieces of tape on the table and fold loops between them my loops are the perfect size.
3. Secure the Center
- Pinch the middle of the ribbon stack to gather it into a bow shape.i find that my prettiest bows are the ones where I accordion fold the center before pinching.
- Use floral wire, string, or a twist tie to wrap tightly around the center. This keeps the loops in place.
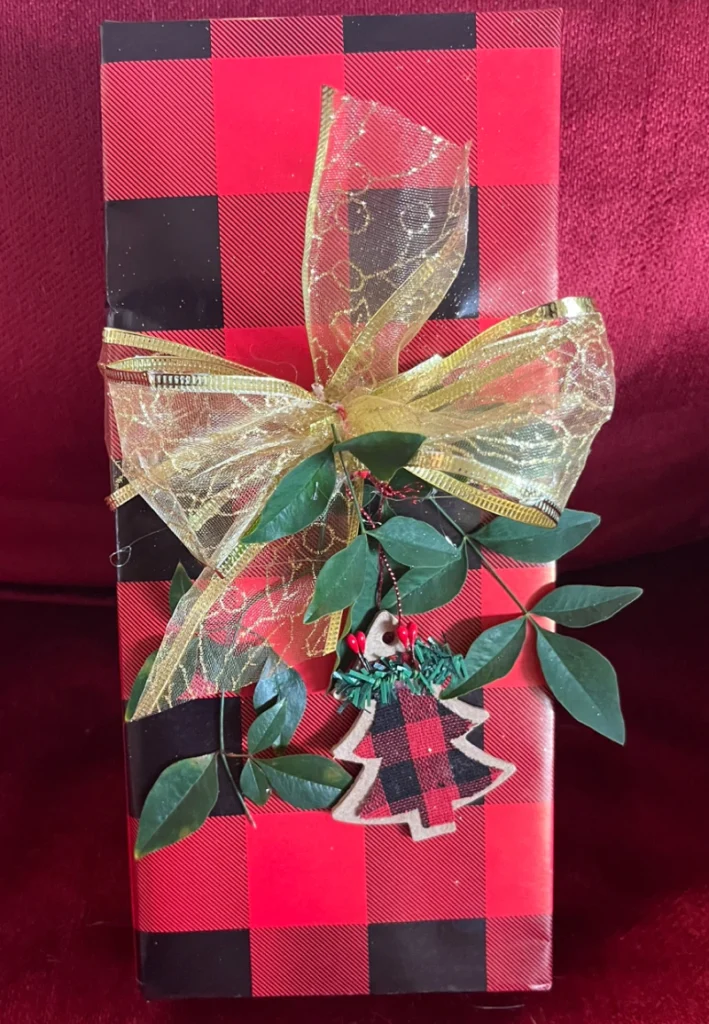
4. Add Tails (Optional)
- For a traditional look, cut a separate piece of ribbon for the tails.You can have short or long tails it will give it two different looks.
- Fold the tail piece in half and secure it to the back of the bow’s center.
5. Shape the Loops
- Fluff out the loops to create volume.
- If you’re using wired ribbon, shape the loops as needed to ensure they stay open and rounded.
6. Add a Finishing Touch
- Wrap a smaller piece of ribbon or decorative fabric around the center to hide the wire. Secure with hot glue.
- For extra glamour, attach embellishments like beads, faux flowers, or ornaments.
7. Trim the Ends
- Cut the tails at an angle or in a “V” shape for a polished look.
Tips for Extra Flair:
- Layered Bows: Combine two or more ribbons of different textures, colors, or widths for a layered effect.
- Oversized Statement: Use extra-long and wide ribbon for a dramatic, oversized bow.
- Themed Add-Ons: Incorporate seasonal or themed decorations (e.g., holly or pine cones for Christmas or lace for weddings).